Sync Hacks is a column dedicated to exploring new applications for BitTorrent Sync, as built by users like you. BitTorrent Sync is a free, unlimited, secure file-syncing app. (And now, it’s 2X faster.) If you’ve got an epic Sync idea, use-case or how-to, shoot us an email at sync[at]bittorrent.com.

In this week’s Sync Hacks, Torben Stallknecht walks us through how to set up BitTorrent Sync on a Synology Network Attached Storage (NAS) to access large files from anywhere.
This post is adapted from Torben’s original tutorial found here.
From Torben:
Before you start
1. In order to setup Bittorent Sync on your NAS, please make sure that your NAS has a supported CPU. To find out which CPU your NAS has, look here.
2. This guide assumes the following reparation and knowledge: This includes router setup and firewall configuration. You will need port 8888 to be open and forwarded to your NAS.
Setting up a user
Because we do not wish to run the Sync service as root, we will be setting up a user.
Adding the user
This portion should be something you know about, so I have not gone into detail about this. As long as you just create a standard user, the rest of my guide should fit your needs.
Enabling user to login to SSH/Terminal
The default behavior for new users on the Synology NAS is that they are not allowed to login through SSH. This is easily resolved by altering the /etc/passwd file.
To do this-
1. Login to you NAS using SSH
2. Perform the command: vi /etc/passwd Find the line with your BitTorrent Sync user listed.
3. Here, change the last part of the line, where it says: /sbin/nologin this needs to say /bin/sh
4. Now, you do not need to logout just yet, to get started.
5. In order to get started with the btsync user, simply issue the command: su – btsync
Setting up BitTorrent Sync
By default you will be sent to the home directory of the BitTorrent Sync user. We want this.
1. Now we are going to create some folders. I use two folders. A bin folder and a conf folder.
mkdir bin
mkdir conf
2. Next, get a hold of the latest build that fits your needs. For my DS-1513+, it is build 1.2.82. We will aquire the build using wget. For the current build, the url is http://download-lb.utorrent.com/endpoint/btsync/os/linux-glibc23-x64/track/stable/btsync_glibc23_x64.tar.gz
Please notice, that I need to get the glibc23 version, as Synology ships their OS with this old version of GLIBC for the DS-1513+. To check which version of GLIBC your NAS has, issue the following command:
/lib/libc.so.6
It will give you something along the lines of: (BOLD text indicating version of GLIBC) GNU C
Library stable release version 2.3.6, by Roland McGrath et al.
If the version is 2.4 or above, you are free to get the full build:
http://download-lb.utorrent.com/endpoint/btsync/os/linux-glibc23-x64/track/stable/btsync_x64.tar.gz
3. Get the file into the bin folder
cd bin
In order to get the file, issue the command
wget http://download-lb.utorrent.com/endpoint/btsync/os/linux-glibc23-x64/track/stable/btsync_glibc23_x64.tar.gz
4. Once we have the file downloaded, we want to extract it.
tar xvf btsync_glibc23_x64.tar.gz
Two files are then extracted.
Btsync
LICENSE.TXT
5. Now we want to get the configuration, so that we get the system set up as we want. In order to generate the default configuration file, issue the command.
./btsync --dump-sample-config > ../conf/sync.conf
Change the sync.conf fil to fit your needs. The main things you want to change, is the device_name and the credentials under webui. Also, you might want to change the storage_path. For my setup, I have simply commented the line, as the app then automatically adds the folder with the auxiliary files, in the bin folder.
6. Once this is done, it is time to fire up the app.
Move into the bin folder, and issue the command:
./btsync --config ../conf/sync.conf
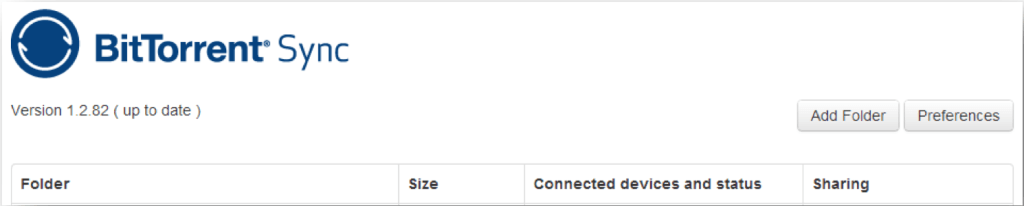
7. Now, in your browser, enter
http://<IP_OF_YOUR_NAS>:8888/gui – in my case: http://192.168.10.5:8888/gui
And enter the credentials you added to the sync.conf file
You are ready to start setting up shared folders on your NAS.
Torben Stallknecht is a Danish “hobby” programmer, mainly working with C#.NET, PHP and most of the things around it. (Various SQL-servers etc.) You can reach him by email at torben@hamdenkloge.dk